The other night, I decided that it was about time for me to attempt to improve my still life or “stock” type skills. A while back, I had built a home made studio light box out of some PVC pipe and some white muslin cloth. For an idea of what it looks like, you can take a look at this one for sale. Mine may not look as nice, but it cost less than $15 to build, so I’ll take it! I also purchased a piece of black velvet as a backdrop as well as two inexpensive desk lights somewhat like these. I chose to use compact fluorescent (the curly energy saving bulbs) in the desk lamps and when aimed at the sides of the muslin, I get a reasonably bright light box.
This works great for taking images of still object, such as this banana.
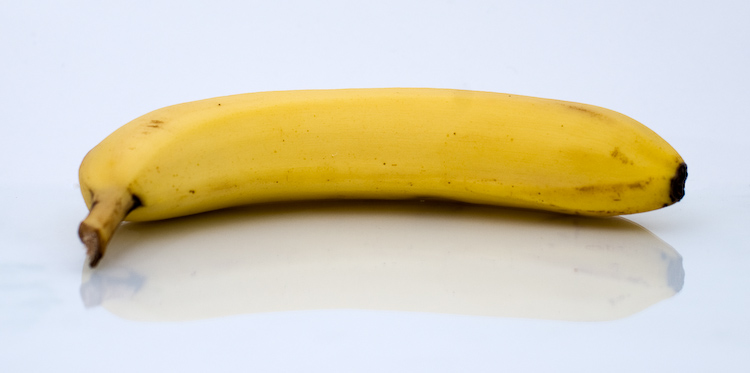
In case you’re wondering, the reflections on a piece of glass which is just from an old picture frame. Simple, cheap and effective. This setup works great as long as you ensure that the background (in this case a piece of white poster board) slopes gently up and out of the shot. I do this much like the poster board in the link to the commercial variety — by attaching one end of the poster board to the back of the light box at the top. It naturally curves / slopes down on the table. It’s actually much easier than I thought it would be.
As exciting as a banana is, I decided to get really ambitious and attempt to capture some water drops / splashes. I immediately realized that there were two problems with my setup.
- The two desk lamps (with 100W equivalent bulbs in each) were not nearly enough light to get adequate shutter speeds necessary to stop a drop of water.
- Auto focus of the lens wasn’t allowing the camera to take the picture the instant I pressed the shutter. For that matter, pressing the shutter button while trying to drip water was a bit difficult.
The second problem was actually the easier one to fix. First, I set the camera to manual focus and second, I got out my cable release. Problem solved (or so I thought).
The first problem seemed easy. Get out my Nikon SB-600 Speedlight. My Nikon D200 has the ability to trigger this speedlight remotely and so I set it in the included stand and placed it to the front left of the bowl where I was going to create the water splashes. The first couple shots showed that this was way too much light so I grabbed the flash to turn down the compensation and realized that while in CLS (Nikon’s Creative Lighting System mode which allows the D200 to remotely trigger the flash), you can’t adjust the output power of the flash unit on the speedlight itself. Hmm… Actually, you can adjust the flash unit from the camera itself. But you have to go through a decent amount of menus to get there.
After a little trial and error, I got to the point where the bowl was in focus and properly lit (something like 1/32 power on the flash with it bounced off the top of the light box).
I then realized that my focus fix, wasn’t actually working. With the Nikon 50mm f/1.4D lens, the depth of field at f/5.6 is only about half an inch at the 15 inch working distance I had. Choosing even f/11 only brings that distance up to about an inch. Therefore, it was crucial that I focus exactly on the middle of the bowl. I came up with a solution. Place some object (I used a fork) across the bowl at the center (or wherever you plan to drop the water drops). Focus on that and call it good.
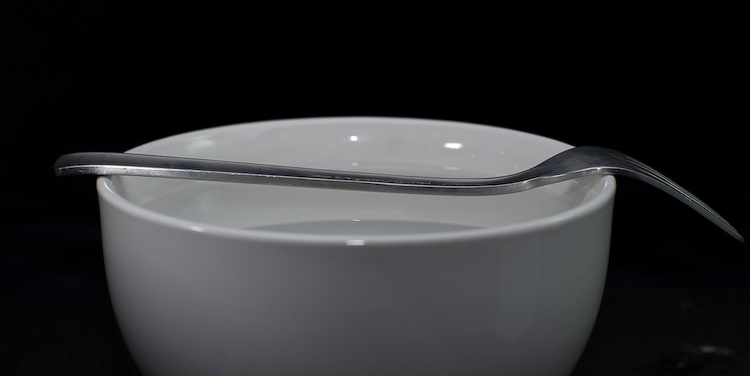
From here, it was just a matter of dripping water from a small squeeze bottle into the bowl while catching the drops just as they hit the water. Easy, right?
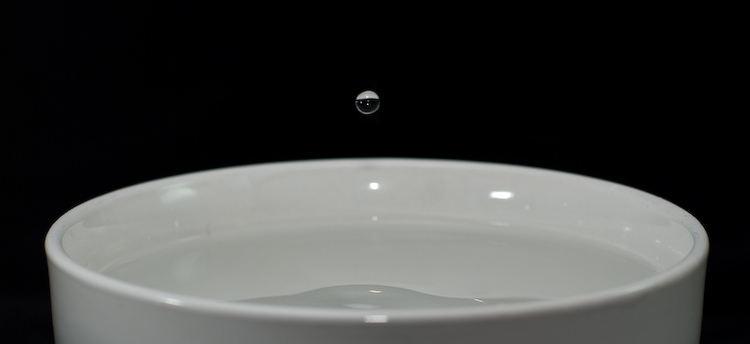
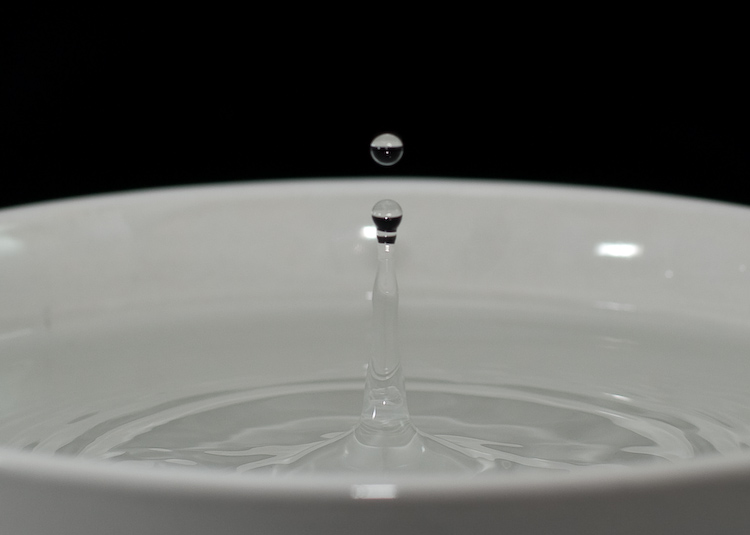
Out of all the shots I took, I think I the one titled Water Piller the best. However, in all of these, the front of the speedlight is visible in the bowl as a reflection. Actually, there are multiple bright spots from this. In the future, I’ll have to play with blocking the direct light by putting a piece of paper or something in front of it.
After taking about 30 shots like this with only about half of them coming out due to timing the drops, I decided to try adding food coloring to the water I was dripping into the bowl. Since we had a reddish brown food coloring and green, those where what I used. After all, I was pretty much just playing around.
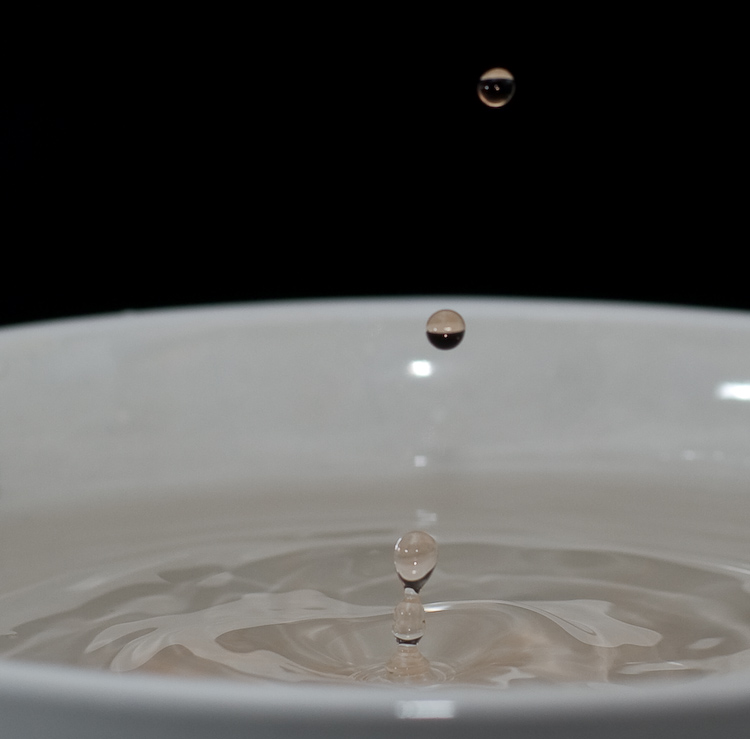
Overall, this was pretty much successful. I am a bit disappointed that the SB-600 does not allow manual settings while in slave mode. While I can set the flash power in-camera, and probably would for most shots, it is still a bit inconvenient when working in this way.